In this blog post, we are going to build and install OpenCV on anM1 Mac.
Last year in November 2020 apple releases their first ARM64-based M1 chip. It got a lot of attention from everyone.
Being a tech enthusiast and a programmer, I was amazed to see the performance of the new apple M1 chip. The benchmarks were really good.
Recently only some months back, I bought myself an M1 Macbook Pro with 8Gigs of RAM and 512GB of SSD. Let’s get started.
Here are the things that we are going to do.
Here are the things that we are going to do.
- Step 1: Homebrew and Xcode Command Line Tools Installation
- Step2: Install Miniforge
- Step3: Create a virtual environment with python3.8
- Step4: Install necessary dependencies
- Step5: Compile and Build OpenCV
- Step6: Test OpenCV
Step1: Homebrew and XCode CLI Installation
If Homebrew is not already installed in your system you can install it by running the following in your terminal.
/bin/bash -c "$(curl -fsSL https://raw.githubusercontent.com/Homebrew/install/HEAD/install.sh)"
After it gets installed, install wget and CMake.
brew install wget cmake
I have already installed Xcode Command Line Tools on my mac. If it’s not already installed in your system, you can install it by running the following command below in your terminal.
xcode-select --install
Step2: Install Miniforge
Install miniforge for arm64 (Apple Silicon) from miniforge GitHub.
Miniforge enables installing python packages natively compiled for Apple Silicon.
After the installation of miniforge, by default, it gives us one base environment. You can turn off the default base env by running
conda config --set auto_activate_base false
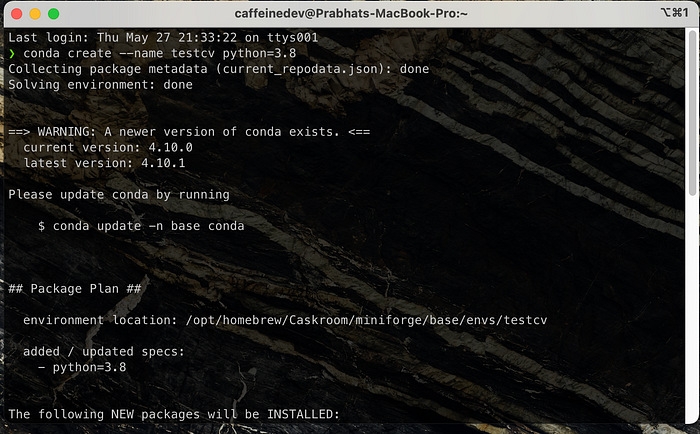
Step3: Create a virtual environment
Let’s create a virtual environment named mlp with python3.8 installed.
conda create --name testcv python=3.8
And activate it by running
conda activate testcv
Step4: Installing Some Dependencies
As we are going to install OpenCV natively we have to install the compatible version of Numpy which Apple provides for M1.
Run the following commands below on a terminal to install Numpy
wget https://github.com/apple/tensorflow_macos/releases/download/v0.1alpha3/tensorflow_macos-0.1alpha3.tar.gz

tar -xvf tensorflow_macos-0.1alpha3.tar.gzcd tensorflow_macos/arm64

cd tensorflow_macos/arm64

pip install --upgrade --no-dependencies --force numpy-1.18.5-cp38-cp38-macosx_11_0_arm64.whl

cd ~
Step5: Compile and Build OpenCV
We have to download OpenCV and OpenCV Contrib first.
I have created one folder named test_opencv where I will be downloading files and build there.
wget -O opencv.zip https://github.com/opencv/opencv/archive/4.5.0.zip

wget -O opencv_contrib.zip https://github.com/opencv/opencv_contrib/archive/4.5.0.zip

unzip opencv.zip && unzip opencv_contrib.zip

cd opencv-4.5.0

mkdir build && cd build
Let’s Set up the OpenCV build with CMake:
Make sure to put your own PATH on OPENCV_EXTRA_MODULES
Also, make sure to activate your conda environment before running make.
conda activate testcv
You have to put your Python3 executable path also. You can get it by running
echo $CONDA_PREFIX

For eg: My path is
/opt/homebrew/Caskroom/miniforge/base/envs/testcv/
So I have put
/opt/homebrew/Caskroom/miniforge/base/envs/testcv/bin/python3
You have to change and put your own path there.
Now you can run
cmake \
 DCMAKE_SYSTEM_PROCESSOR=arm64 \
-DCMAKE_OSX_ARCHITECTURES=arm64 \
-DWITH_OPENJPEG=OFF \
-DWITH_IPP=OFF \
-D CMAKE_BUILD_TYPE=RELEASE \
-D CMAKE_INSTALL_PREFIX=/usr/local \
-D OPENCV_EXTRA_MODULES_PATH=/Users/caffeinedev/Prabhat/Workspace/test_opencv/opencv_contrib-4.5.0/modules \
-D PYTHON3_EXECUTABLE=/opt/homebrew/Caskroom/miniforge/base/envs/testcv/bin/python3 \
-D BUILD_opencv_python2=OFF \
-D BUILD_opencv_python3=ON \
-D INSTALL_PYTHON_EXAMPLES=ON \
-D INSTALL_C_EXAMPLES=OFF \
-D OPENCV_ENABLE_NONFREE=ON \
-D BUILD_EXAMPLES=ON ..
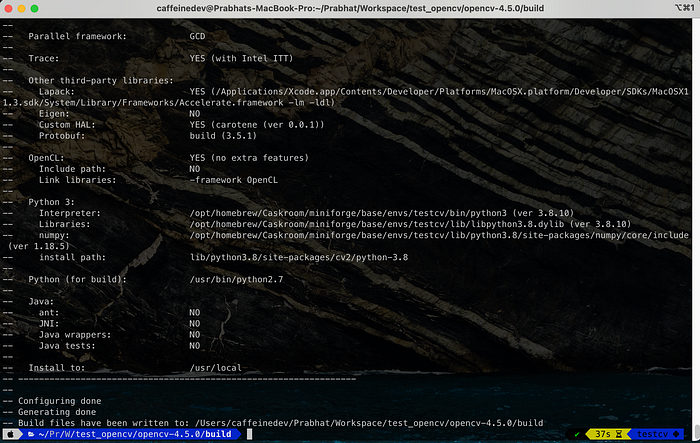
Snapshots
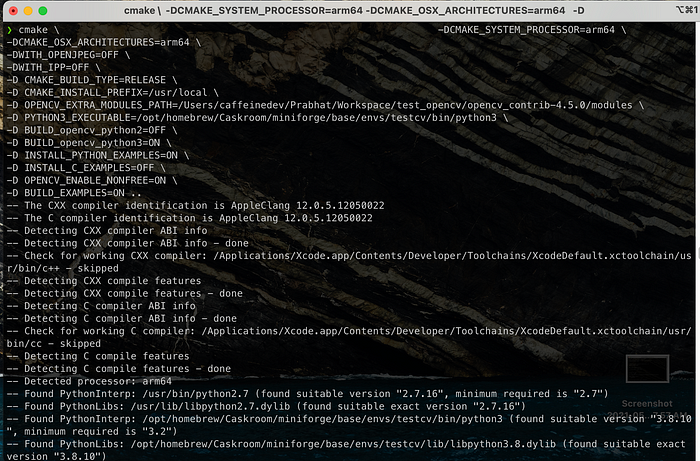
You will see the screen below after Cmake. The compilation doesn’t take that much time.
Now we have the run the make command.
Here j8 stands for 8 cores. You can do either make or you can adjust the j option. So let’s run
make -j8
You will get an output like the below. It took around 10 minutes for me.

Then the last step is to run
sudo make install
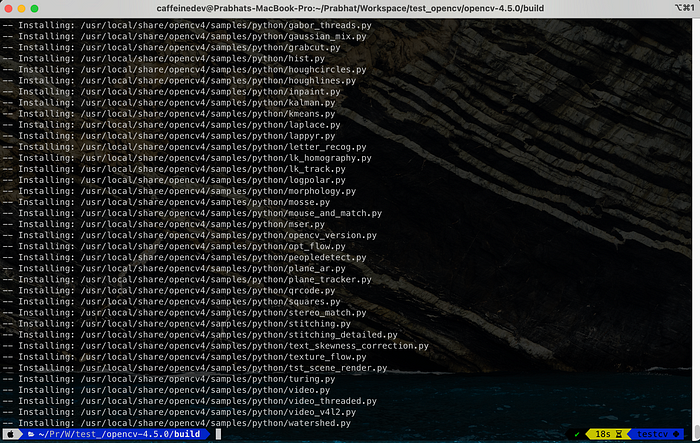
You will get the above after sudo make install.
Sym-link OpenCV 4 on macOS to virtual environment site-packages
We need to first locate the .so file, which has been generated during the compilation of OpenCV.
mdfind cv2.cpython

Now, we need to execute the following to sym-link one of the .so files in our current Python virtual environment.
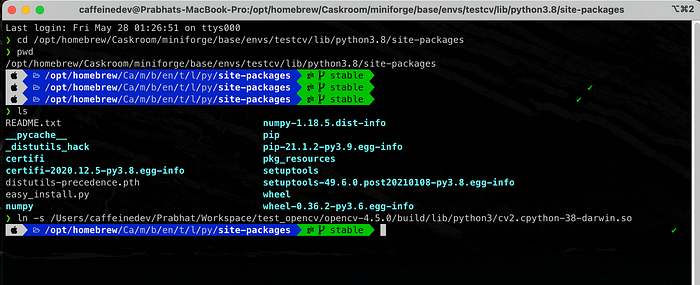
You can see this from the screenshot. There’s one so file that has been generated inside the build folder. The path to the .so file in my system is
Also, Please double-check the paths before executing the commands.
/Users/caffeinedev/Prabhat/Workspace/test_opencv/opencv-4.5.0/build/lib/python3/cv2.cpython-38-darwin.so
Open up another terminal and go to your python environment site-packages directory. In my case it’s
cd /opt/homebrew/Caskroom/miniforge/base/envs/testcv/lib/python3.8/site-packages
And execute the sym-link
ln -s /Users/caffeinedev/Prabhat/Workspace/test_opencv/opencv-4.5.0/build/lib/python3/cv2.cpython-38-darwin.so
This I ran on my second terminal.
And that’s it. Now we are good to go.
Open a separate terminal if you want and activate your virtual environment
conda activate testcv
And just run the below
python3
And
import cv2
cv2.__version__

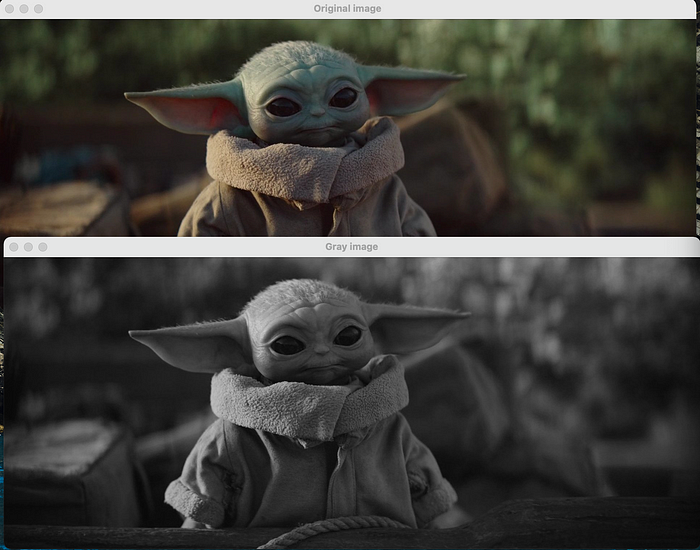
Step6: Test OpenCV by running a program
Create a new file named main.py and paste the code below. Put a dummy photo for test purposes in the third line. The code just converts the image to a black-white image.
import cv2
image = cv2.imread('grogu.jpeg')
gray = cv2.cvtColor(image, cv2.COLOR_BGR2GRAY)
cv2.imshow('Original image',image)
cv2.imshow('Gray image', gray)
cv2.waitKey(0)
cv2.destroyAllWindows()
And run python3 main.py. Here’s the output
Additional Step
If you want to uninstall OpenCV, you can go inside the build folder and run
sudo make uninstall
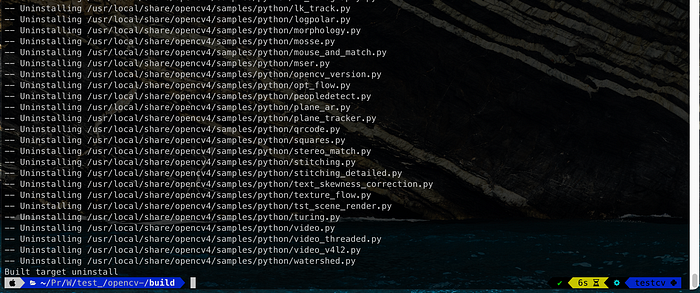
It will remove OpenCV 4.5.0 from your system. Also, you can delete your conda environment.
First, deactivate if it’s activated
conda deactivate
conda remove --name testcv --all
It will remove completely.
Conclusion
We were able to build and install OpenCV 4.5.0 successfully in our M1 Mac and we are able to run some code also.
If you have any questions, recommendations, or critiques, I can be reached via Twitter or via my mail. Feel free to reach out to me.
Thanks